| Publishers | Electronic Arts, Inc. |
| Developers | Maxis |
| Release date | 2014 |
| Genre | Simulation |
| Game rating |
Game Description
The Sims 2: Ultimate Collection includes the original game along with all expansion and stuff packs.
Download The Sims 2: Ultimate Collection
The Sims 2: Ultimate Collection is no longer abandonware. You can now buy the game from:
Windows (2014)
The Sims™ 2 Legacy Collection on Steam
Additional files, patches and fixes
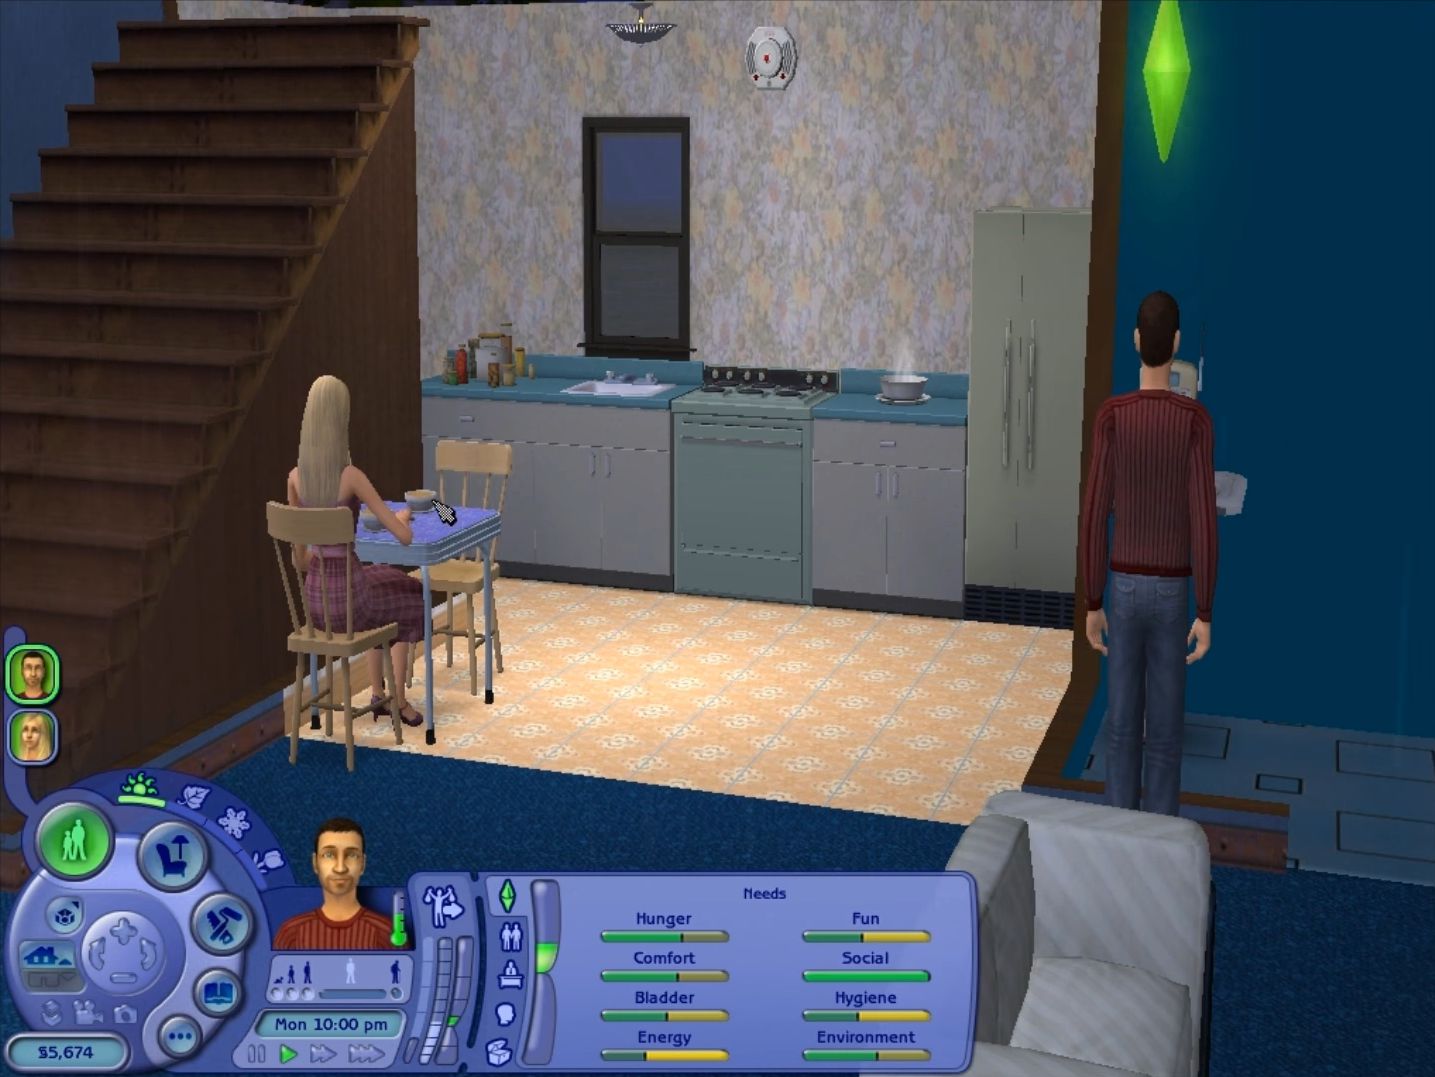
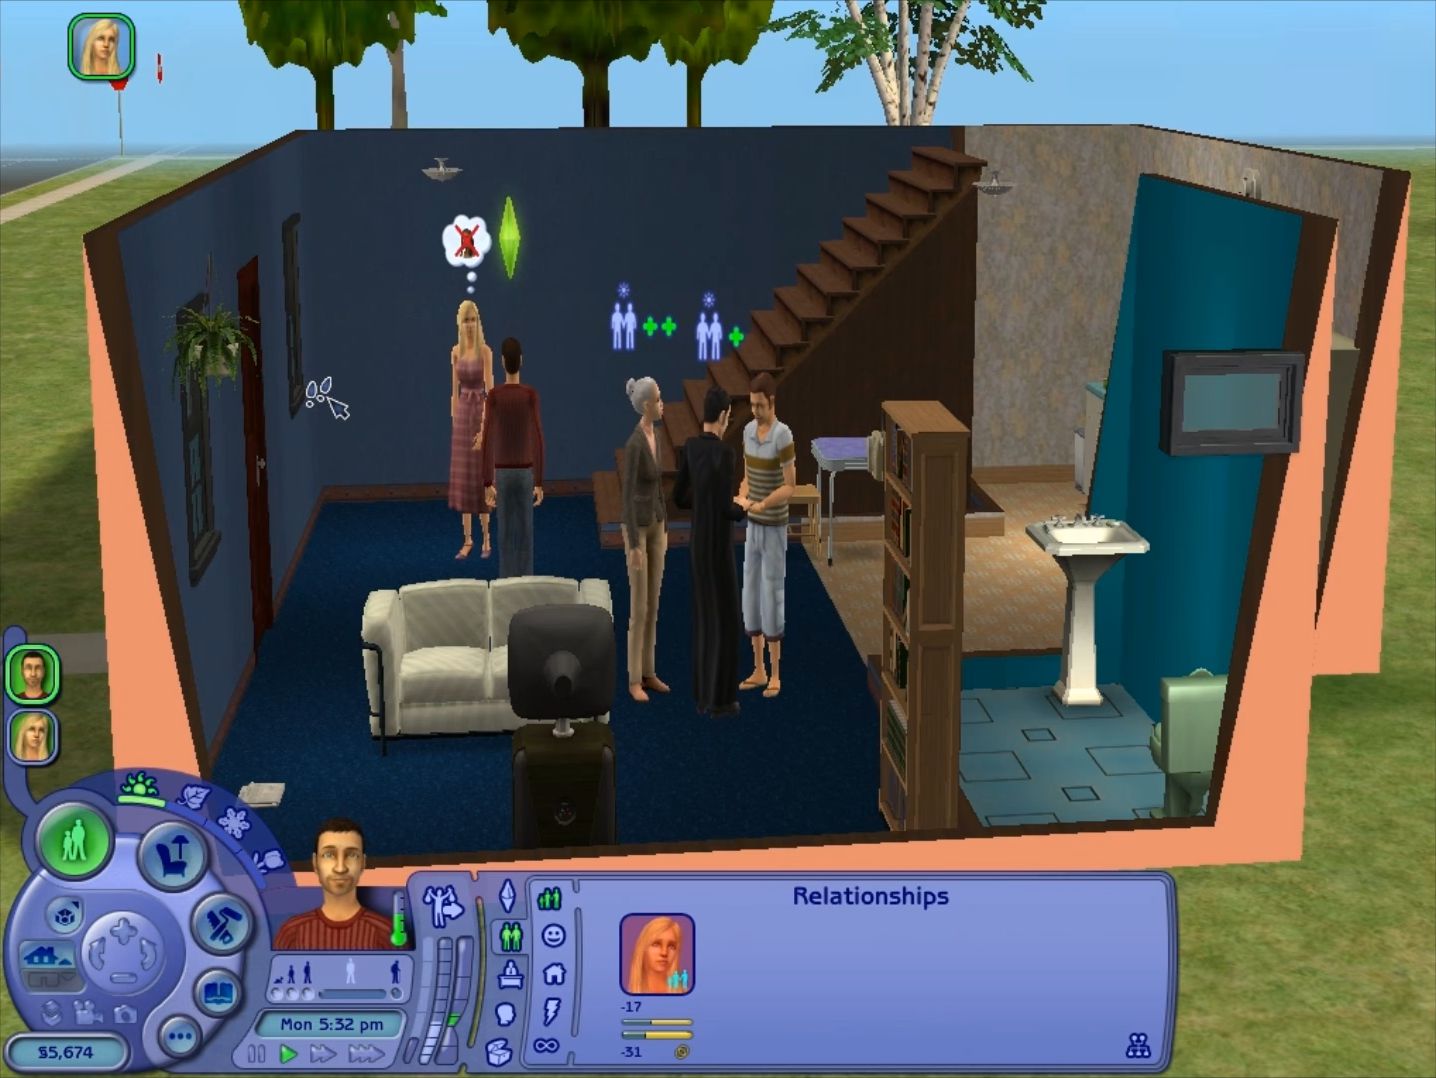
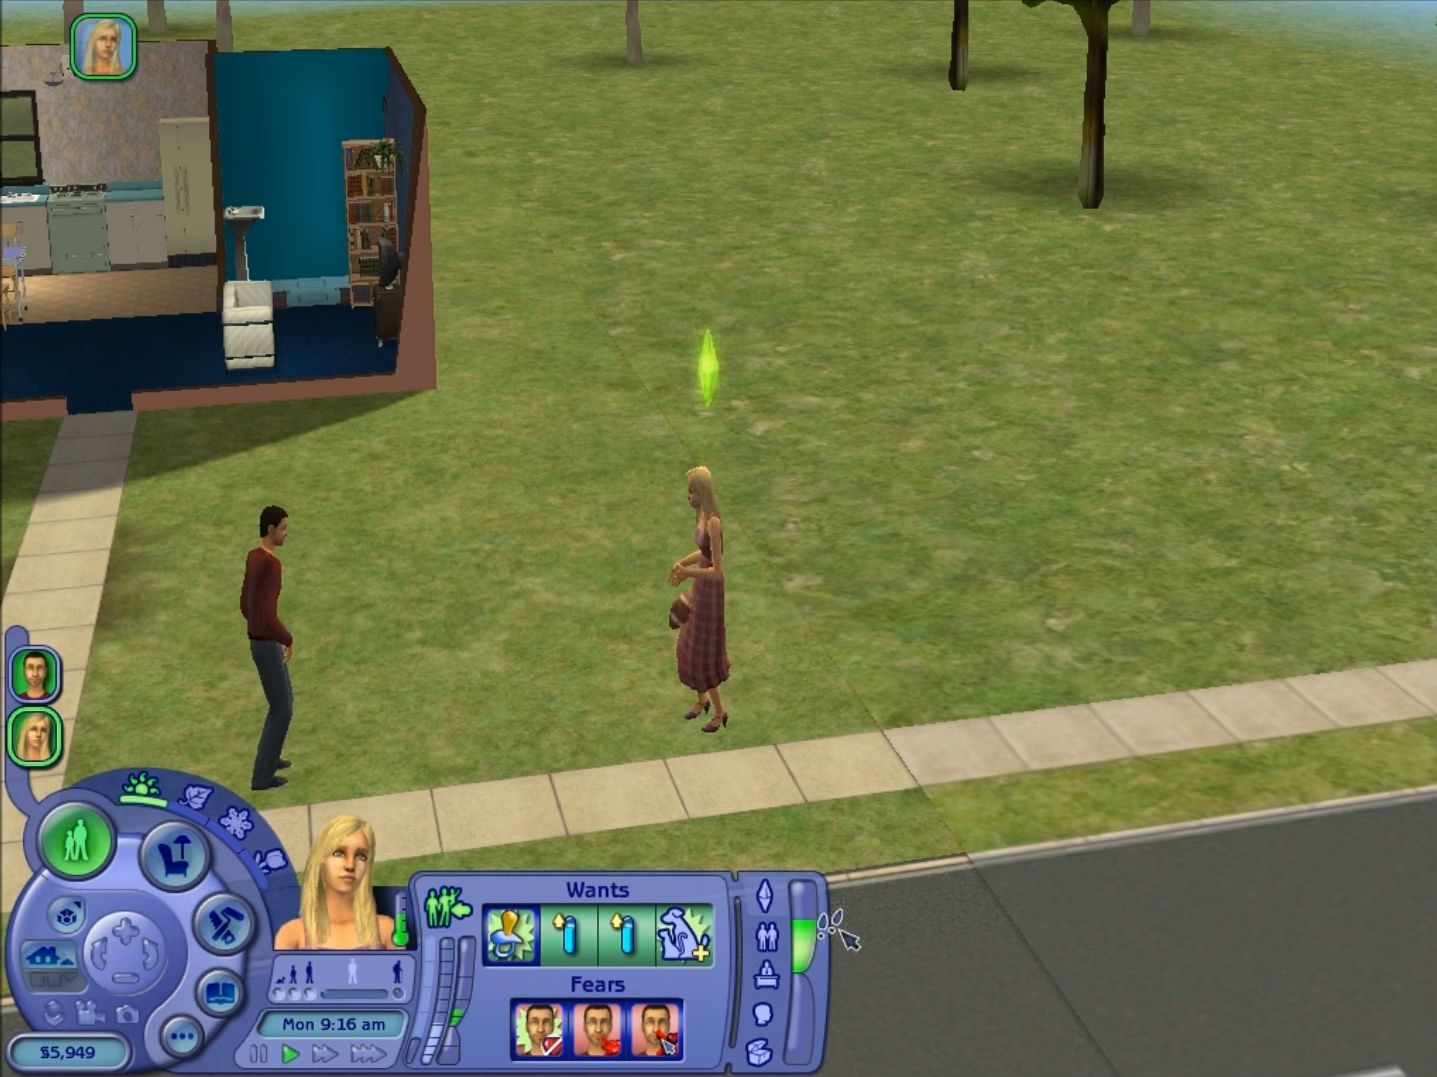
The Sims 2: Ultimate Collection Screenshots
Windows
0
0
0
0
0
0
0
Click to refer to the blog
Link to the document explain everything:
Click to open the document to stop Sims 2 Crash and other issues often happen from the game glitch within Windows 10
0
0
0
0
0
0
0
0
0
0
0
0
0
Apparently it was cause by a virus, a J!Remnant virus. I didn’t know that till’ I got myself a new toaster pc with a proper anti-virus. So try and find that certain virus with your current anti-virus or get MalwareByte and scan it there. (Side Note: this is not an advertisement for MalwareByte, I’m just giving a solution to this problem”.)
0
There is not enough space on the disk.
! Write error in the file C:UsersUserAppDataLocalTempRar$EXa1248.49311The Sims 2 Ultimate CollectionGame FilesSetup-1.bin
There is not enough space on the disk.
! Cannot execute “C:UsersUserAppDataLocalTempRar$EXa1248.49311The Sims 2 Ultimate CollectionGame FilesSetup.exe”
0
I’m wondering if I just have the advantage of going into this being fairly tech-savvy to begin with (this is NOT intended to be insulting towards anyone else, just curiosity on my part), or if my current PC’s OS being Windows 7 rather than 10 has more to do with it, but I didn’t find the setting it up to be particularly difficult compared to other older games I’ve had to contend with before. For instance, all I had to do to get my 1080p resolution in the game was change a few lines in a config file and pick the resolution in the game after loading a neighbourhood, didn’t feel very cumbersome at all.
Only thing is, I have definitely every expansion pack, and every stuff pack *except* specifically IKEA (which I thought was funny since that’s the one mentioned in the notes by name as an *example* of missing content, and it’s literally the only thing I *don’t* have).
Now, it’s only a stuff pack, when it comes to Sims things I mainly care more about having expansion packs (though it’s nice to have stuff packs too if they’re there but I don’t normally actively seek them out). But, just out of curiosity, if I ever wanted to install the IKEA stuff pack from the download on this site (and I might at some point for the sake of completionism),
would that cause any problems due to me having already installed the UC from this site? I noticed right away that it includes an IKEA stuff pack *folder* in the install directory, but that folder does seem to be missing a few files and subfolders compared to the other expansion/stuff packs. I’m curious if it’s something others have tried and if they’ve had problems or not.EDIT: Nevermind, oldgamesdownload themselves more or less said it should be okay on the IKEA stuff pack page0
0
So the CC should go in
“(drive letter, e.g. C, D, etc.):Documents and Settings(username)My DocumentsEA GamesThe Sims 2Downloads”
without the quote-marks. Also be sure to replace whatever is in the brackets with the things there that apply specifically to your computer, and without the brackets.
I was pretty much just following online tutorials, such as those provided on ModTheSims, on how to install CC for TS2, which is how I found out that’s the folder where CC for TS2 should go.
Another thing is the instructions here on this page make it pretty clear the game should always be run in admin mode. Now, I honestly couldn’t tell you whether or not that could possibly be causing peoples’ problems with CC that I’ve been hearing about from the version of the game on this site since I’ve been running it in admin mode every time I play, but I thought it was worth mentioning anyway just as a thing to keep an eye on.
Good simming, and I hope I was able to help you!
EDIT: You can place subfolders in the Downloads folder if you want to keep your CC a bit more organised! See “modthesims . info / t / 604652” (without the spaces or quote-marks) for more info on that
0
0
I’m kind of familiar with Windows 10 but I don’t have it at home so this advice is almost pure speculation on my part, but something that might be worth trying in this case, maybe, would be right-clicking on the game, opening Properties, clicking the Compatibility tab and telling Windows to run the game in compatibility mode for either Windows 7 or (and I recommend this one more tbh) Windows XP Service Pack 3.
So basically, try just running in admin mode at first, and if that alone doesn’t work, then have Windows always run the game in compatibility mode for either Windows 7 or Windows XP SP3, then run the game as admin and see if that helps.
Good luck 🙂
0
CC for TS2 goes here:
“(hard drive letter, e.g. C, D, etc.):Documents and Settings(username)My DocumentsEA GamesThe Sims 2Downloads”, without the quotation marks and replacing the things in brackets with those that apply to your computer specifically, as well as without the brackets.
Good luck, I hope this works for you because it did for me
0
0
So pretty much just find the IKEA Stuff download page from this website. Unlike the Ultimate Collection, it won’t be an installer .exe file. It’ll be an .iso disk image file so you’ll need a program that can create virtual drives and mount disk images onto them. If you don’t already have one, WinCDEmu is pretty good.
Once you take care of that, follow the instructions on the IKEA page as they’re set out and you should be fine. If you need to, you can also navigate to the page on this website under “Wiki > How to install Windows games” and there’ll be a section on that page called “How to mount ISO/ROM files on Windows.” I would recommend also following that, especially if you’re either not familiar with how WinCDEmu works, or just not familiar with using virtual disk drives and .iso files in general.
Now, the “minor issue” I ran into. For me personally, the Ultimate Collection installation did add an IKEA folder along with all the other expansions and stuff pack folders (but obviously not the files needed for IKEA to actually work lol). Trying to install the IKEA stuff pack to that folder at first caused some problems because there was already a folder there with some files in it, so it wouldn’t let me install it to that folder while those files were still in there.
So what I had to do was, before attempting to install the IKEA stuff pack off of the .iso file, first I went to where I had installed the Ultimate Collection (for me personally it wasn’t Program Files but for most others it might be, so just look for wherever you installed it). I deleted the IKEA folder (which, since I didn’t have the pack yet anyway, I figured it was pretty much safe to do so), and then I mounted the .iso. So that’s what I recommend first. Then, when the installer asks where to install the IKEA stuff pack, navigate to where you installed the Ultimate Collection and, in the same folder where you see all the other expansion and stuff pack folders, create a new IKEA folder there.
Here’s the official folder name for copypasting, in case you need it: The Sims 2 IKEA® Home Stuff
Then after that, pretty much just let the installer do its thing. When that’s done, follow the instructions on the IKEA page to replace the installed IKEA files with the crack files.
After that, you can launch the game with the same “The Sims 2 Ultimate Collection” shortcut as before (don’t forget to run the game as admin whenever you play, of course) and at this point you should now have IKEA Home Stuff in your game. (One very quick way to make sure would be, after opening a neighbourhood, navigating to sound/music options, then clicking the Pop radio station and scrolling through to see if the song “Robyn – Bonichita Kitcha” is there, and I only say that because it’s a song I know for a fact only gets added to the game if IKEA Home Stuff is installed. I mean, checking out the various furniture categories for things from IKEA might also help lol, but this is just a very quick way to check)
Good luck, I hope this helps you even a little bit, and Happy Simming!
0
0
Couple things to be aware of:
1.The SimsVIP guide says that the “GraphicsRules.sgr” file is located in “C:Program Files (x86)Origin GamesThe Sims 2 Ultimate CollectionFun with PetsSP9TSDataResConfig”. That’s because they’re assuming you’ve got the “proper” version of the UC that was available on Origin way back when, which was basically a collection of collections.
What oldgamesdownload has is a REPACK, so it still has all the *content* that the “proper” UC had (minus IKEA Stuff, but that’s easy enough to fix anyway), but the location is slightly different because every expansion/stuff pack is listed individually, rather than being a collection of collections like the original UC was.
All that really means is that, for people like us who got our UC from this website, the “GraphicsRules.sgr” file is located in “…The Sims 2 Ultimate CollectionThe Sims 2 Mansion and Garden StuffTSDataResConfig” instead (“…” being basically wherever you chose to install the game).
First thing you should do with “GraphicsRules.sgr” is copy (NOT cut) and paste it somewhere safe. That’s your clean backup. Then, follow the instructions on that guide pretty much how they have them set out.
2. Once you’re done making the necessary changes to the “GraphicsRules.sgr” file, save it and close it. Then open the game (run the game as admin whenever you do, of course). You’re not done quite yet. In order to change the resolution, you’ll need to open one of the game’s neighbourhoods (it doesn’t matter which one) and, once the neighbourhood loads, go to Options and then Graphics/Performance. You should see your resolution now available in the list under the heading “Screen Size”.
3. Now that the resolution is fixed, at this point I’d recommend having a look at the recommended UI mods listed by Cindy over at PleasantSims >> “pleasantsims . com / sims-2-mods / # UI” (without quotemarks or spaces). I personally don’t use Clean UI but I’ve heard good things, so proceed at your own risk on that one, but you should be ok. At the very least get something that fixes the CAS camera/UI so that it uses the screen space more effectively and efficiently.
Good luck!
0
0
Ok, this one’s entirely my fault because I forgot to mention it and it’s kind of *very* important.
So, any program you need to use to edit game files for *this* version of TS2 needs to be run in Admin mode or you won’t be able to save your changes. So if you’re trying to edit the SGR file with Notepad, for example, you need to right-click on Notepad’s icon and tell it to ‘Run as administrator’, and then click ‘File’ > ‘Open’ and look for the SGR file from there (you’ll need to switch from ‘.txt files’ to ‘All files’ in the bottom-left dropdown that appears in the ‘File’ > ‘Open’ dialog box or you won’t see the SGR file when you navigate to the folder that it’s in).
I recommend Notepad++ for things like this because, while this can be done in Notepad just fine, the file is a bit less cluttered to read in Notepad++, at least in my personal opinion, and also Notepad++ will default to showing all file types in its own ‘File’ > ‘Open’ dialog box anyway. The process is pretty much the same: open Notepad++ as admin, find the SGR file, make the necessary changes and save.
I am incredibly sorry for forgetting to mention this earlier but I guarantee you this method will work. If you have to make *any* changes to the oldgamesdownload version of this game for any reason, running the programs you need to run in Admin mode will be your best friend.
0
0
You should be able to change the location upon installation. I’d run the installer on my PC to check how exactly to do that again, but since the game is already installed that might not be a good idea. But you can definitely change it, because I also have an SSD that holds pretty much *just* my operating system and I chose to install my game to the root of my D: drive (more space) instead of clogging up C:
If you’ve already installed it to your C: drive you’ll definitely need to go to ‘Control Panel’ > ‘Programs and Features’ and uninstall it (if you’re viewing Control Panel items by Category instead of Small/Large icons, it’ll be under ‘Programs’ > ‘Programs and Features’ and underneath you should see an uninstall option).
After uninstalling, find the installer/setup file and run it, and I can’t remember for the life of me if I used a dialog box to tell it to install where I wanted it to or if I just straight-up clicked the address bar inside the installer and just typed the location I wanted, but I remember being able to change it.
I’ll see if I can verify how I did it later because I know I’m gonna be quite busy today.