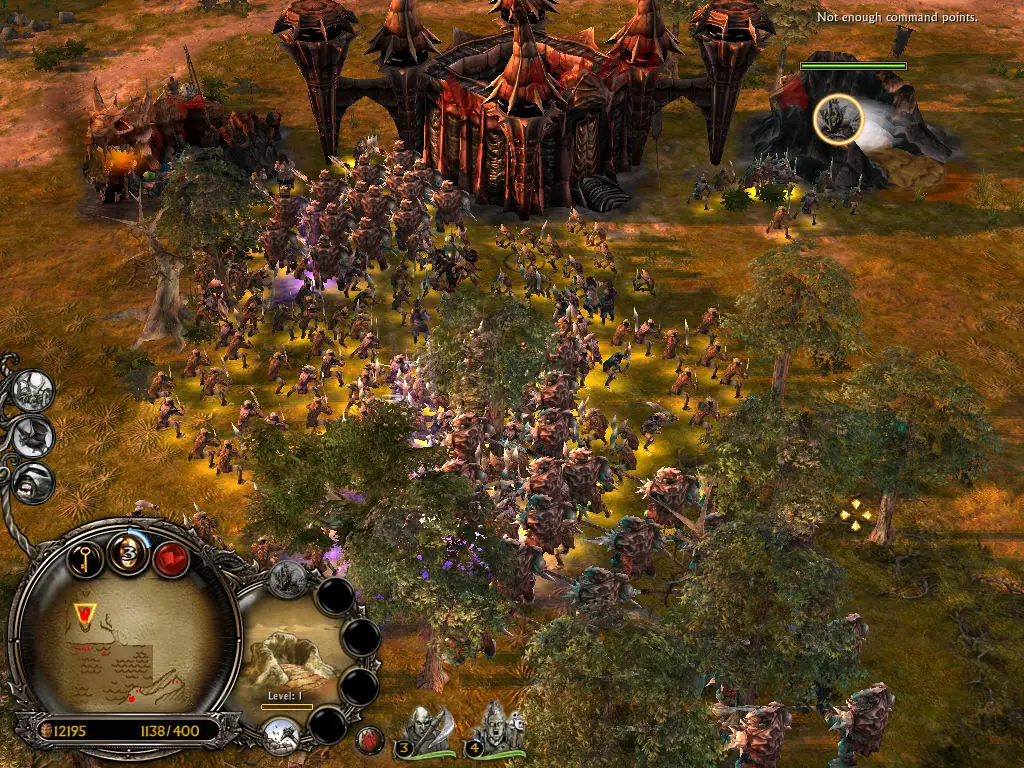
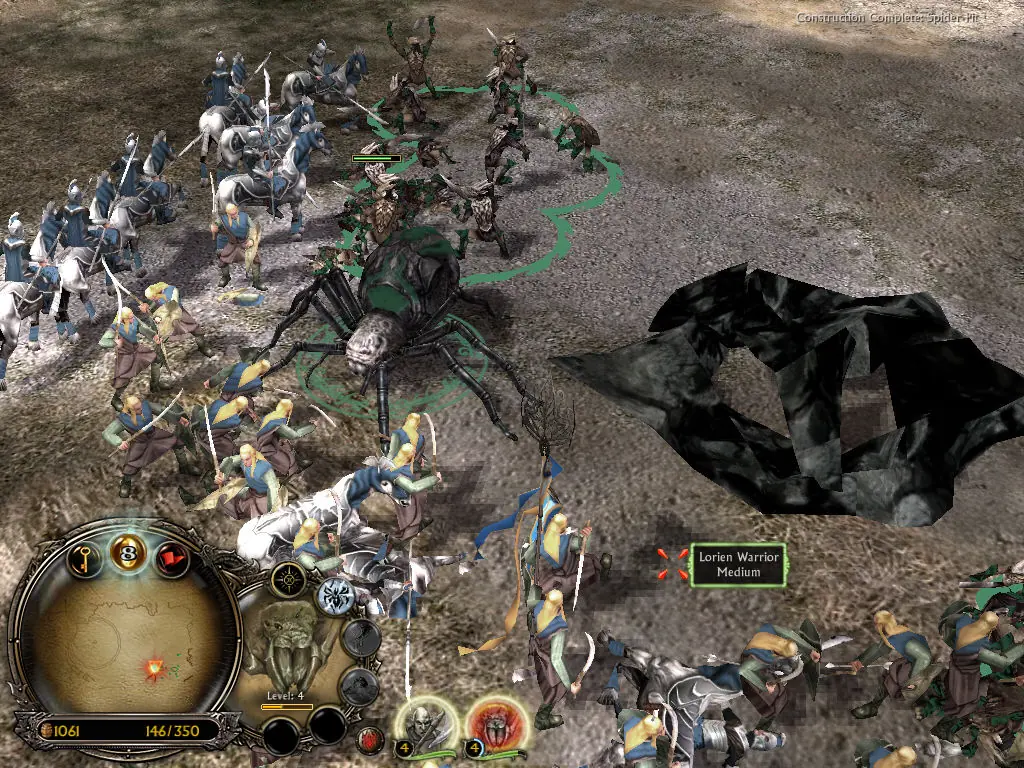
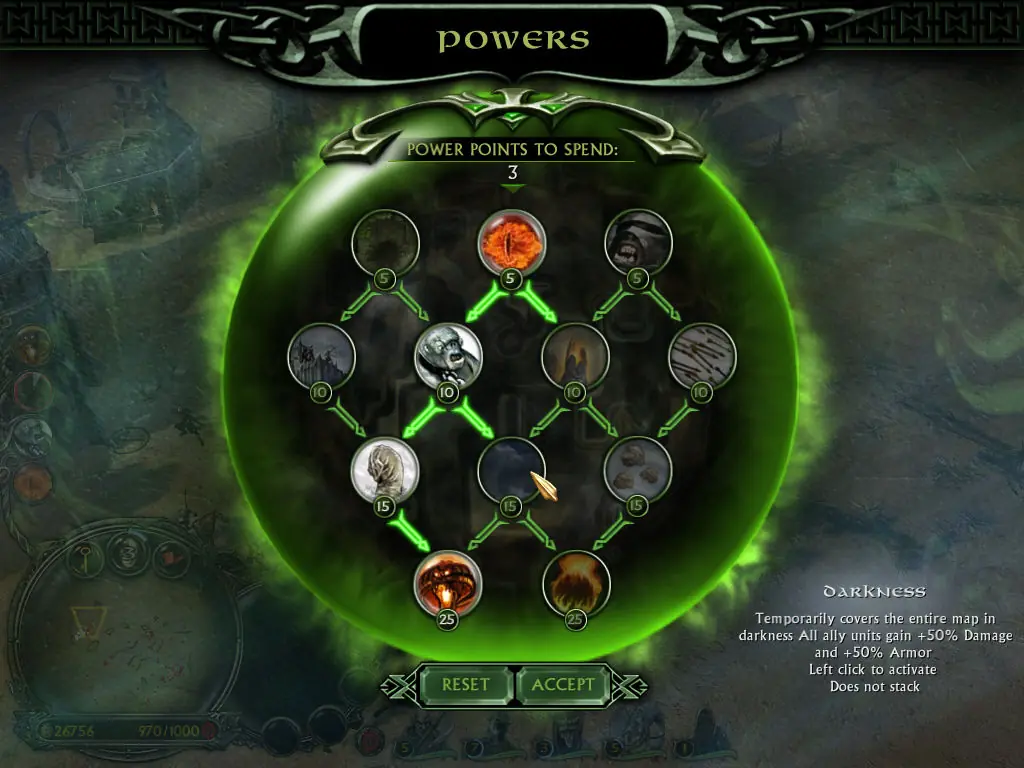
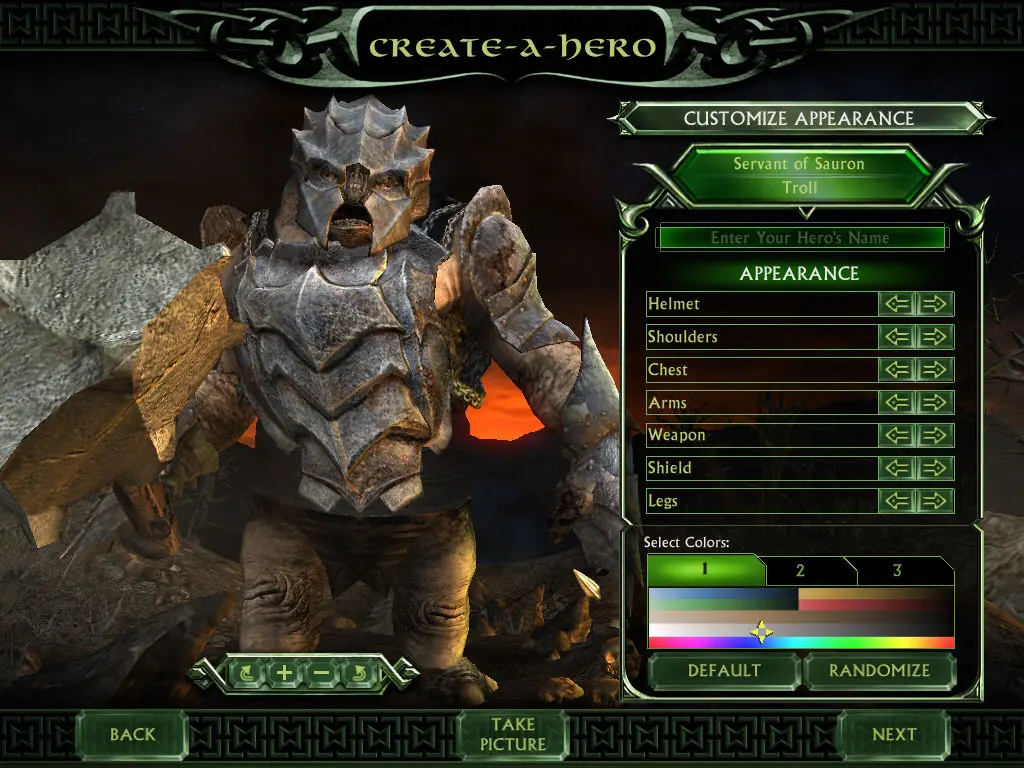
The story for The Battle for Middle-earth II is divided into Good and Evil Campaigns. The Good Campaign focuses on Glorfindel, an Elf who is alerted to a planned attack on the Elven sanctuary of Rivendell. With help from the Dwarves and other Good forces, the Elves attempt to eliminate Sauron and his army to restore peace in Middle-earth. In the Evil Campaign, Sauron sends the Mouth of Sauron and the Nazgûl to muster wild Goblins. With his army, Sauron moves forward with his plan to destroy the remaining Good forces in the North. The Windows version of the game was released in March 2006 and the Xbox 360 version was released in July 2006.
The Battle for Middle-earth II is abandonware and no longer sold or supported by its publishers. Files are archived here for these platforms:
How to play on Windows
Instructions for The Battle for Middle Earth 2
Instructions for The Battle for Middle-earth 2: The Rise of the Witch-king (you need to download the base game first)
Instructions for The Battle for Middle-earth 2: The Rise of the Witch-king (YOU NEED BFME 2 FIRST)
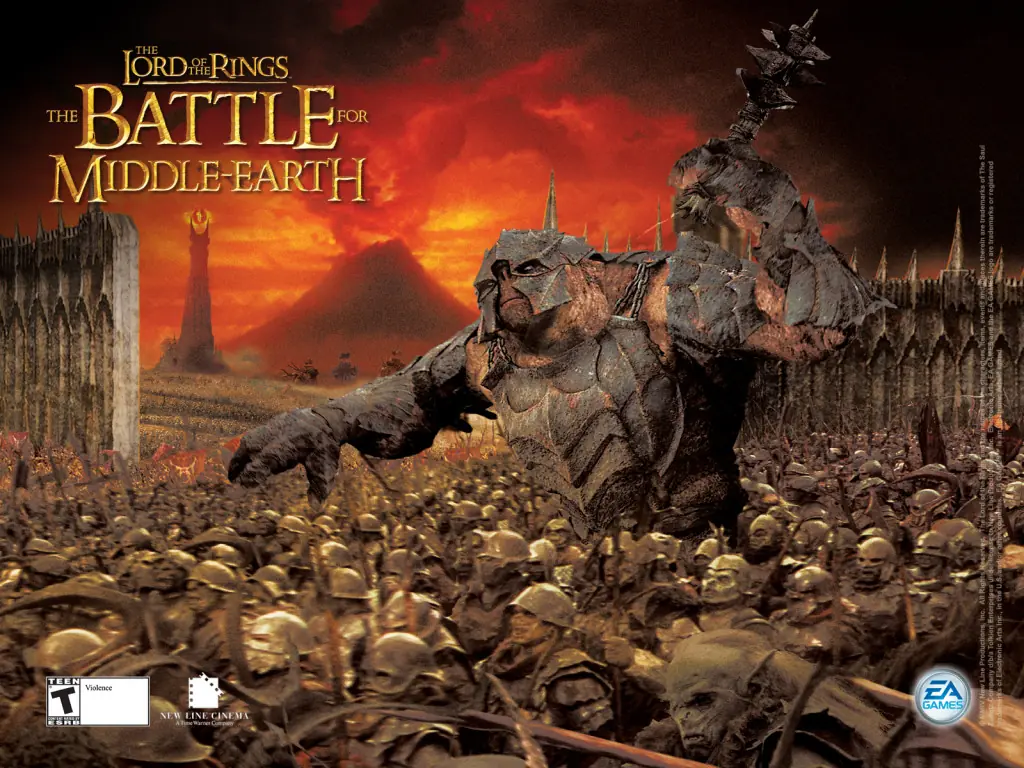
Wonder if anyone has a fix for this? 🙂
1.) Don’t follow any of the above instructions (at least some of them). They’re not that fleshed out, you’ll just end up missing out on some minor steps/details and eventually end up getting confused. But take note of the CD keys for later.
2.) You’ve now downloaded the zip package, which is most likely sitting in your downloads folder. Extract it over to your desktop.
3.) Check the folder first and make sure there are no duplicates, meaning if the parent folder is named “BFME 2 + Rise of the Witch King” when you open it there shouldn’t be another folder of the same name. What you want to see is “BFME 2 + Rise of the Witch King” and then immediately see the “Game Files” folder and some others.
4.) Once No.3 is all checked out, copy the entire folder into your main drive which is the C: Drive.
5.) Now, in the “Game Files” folder, you first need to install the base game from which all installer files are inside the folder named “BFME2”. But before that, “mount” the .mds file.
The easiest tool is to use WinCDEmu, you just download and install it from GitHub, then without changing any configuration settings afterward and it will automatically mount the .mds to a virtual drive like say D: Drive, since upon having WinCDEmu installed it will automatically detect the .mds files and will mount it to a virtual drive as mentioned.
6.) Now, you’re set to proceed with actually running the autorun.exe to begin installation. Just go through all the message prompts and when reaching the CD-Key part just enter in the keys.
BUT MAKE SURE YOU’RE ENTERING THE CORRECT KEYS. Some of you having trouble with this are mostly typing in the wrong keys, meaning you’re putting an expansion key for the base game or vice versa. That’s all there is to it. The keys are 1:1, it does not expire unless they manually remove a key in their registry and then release a new patch.
7.) After successfully entering the CD-Key it should now start with the actual installation of game files and it will create the game folder in your C: Drive (assuming nothing goes wrong between the 0-100% progress bar). After that, a game shortcut will be created on your desktop.
8.) The next step is important, DO NOT eject the .mds file from the virtual drive yet. You need to run the game at least ONCE via the desktop shortcut first while the file is STILL mounted SO it can create the application data folder under C:\Users\AppData\Roaming\…
This is where the above instructions have missed that crucial detail. Once done, you should be able to see that My Middle Earth… folder, and then you can proceed with editing the .ini file and paste it there.
9.) Now… to finally play the game, just click on the shortcut to launch it and it should work fine, BUT, make sure the .mds is STILL mounted since it will ask you to insert a CD.
Why though you all ask? Since this IS NOT A CRACKED VERSION. This is a genuine copy of the game that is re-packed that’s why you’re entering official CD-Keys since you’re installing it legitimately using the official game installer. If you want a Non-CD Key version, then that is the cracked version.
By mounting the .mds to a virtual drive it’s simply emulating as if you have a physical CD inserted. Like you’re doing it on reverse.
.mds is just a digitized version of the CD contents, if you want you can burn the .mds into a CD if you have a CD player on your computer.
10.) Hence, every time you play the base game or the expansion you have to first mount their respective .mds files as if you’re inserting the physical CD so you can launch the game itself.